
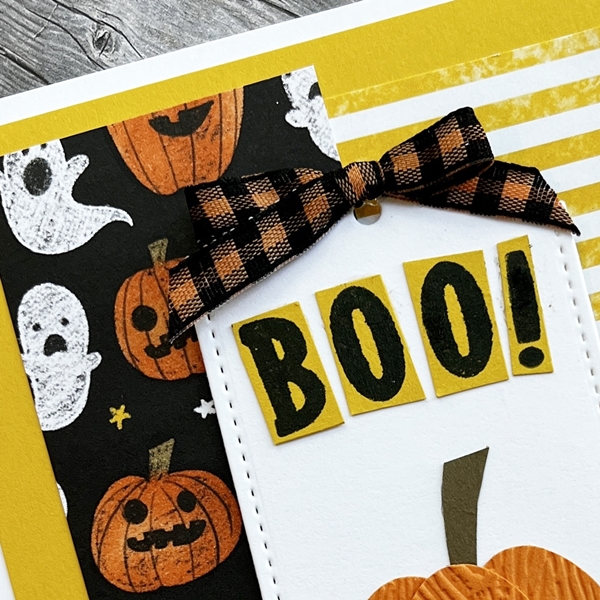
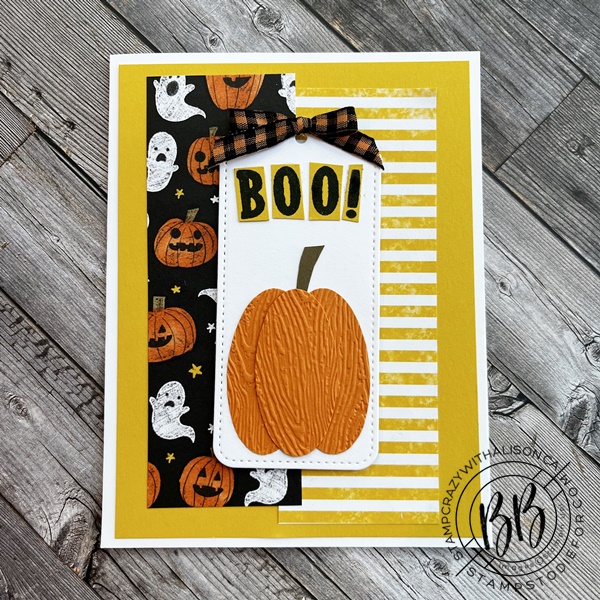
Getting creative with this Out of the Box on this pumpkin card. While the card looks pretty straight forward several things are out of the box.
- The colored pumpkins and stars.
- The Boo!
- The orange and black gingham ribbon.
- The pumpkin.
Out of the box #1 custom designer paper
The background paper starts out as a black and white piece from the Celebrate Everything Designer Series Paper.

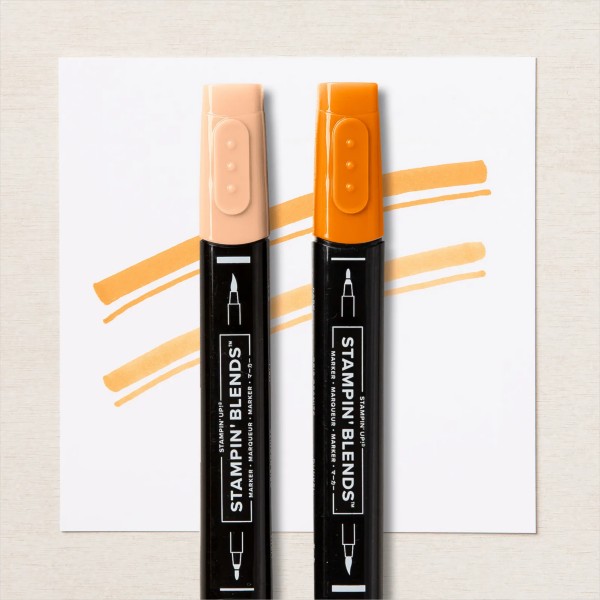
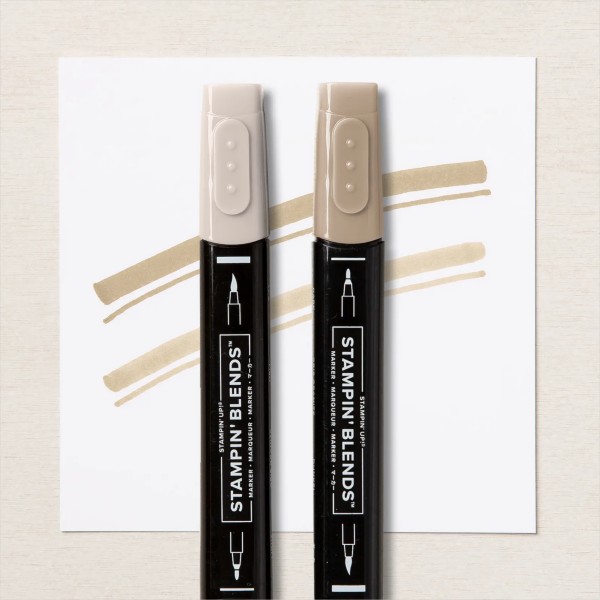
Black and white designer paper gives you some great flexibility. For this card I colored the pumpkins using the Daffodil Delight and Crumb Cake Stampin’ Blends and the stars with Daffodil Delight.

#2 boo!

The BOO! was created using the two stamps from the Best of Butterflies Stamp Set. I stamped “all the LOVE” in Memento Tuxedo Black Ink on Crushed Curry Cardstock twice. Then I cut out the “O”s. Then I stamped the “you’re my BESTIE!” cutting out the “B” and the “!” to complete the BOO!
I love the Black and White Gingham Ribbon and the ability to customize the color with any of our Stampin’ Blends. Here I colored the ribbon with the Pumpkin Pie Blend.
#3 out of the box Pumpkin

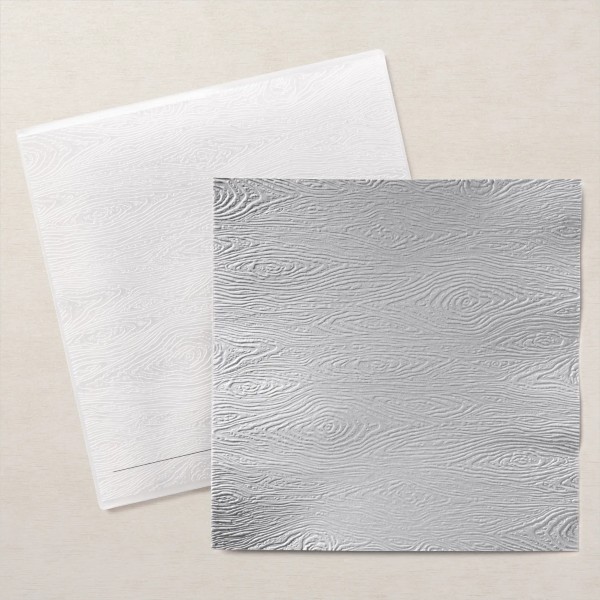
The pumpkin was created using the Double Oval Punch and the 3D Timber Embossing Folder.

simple stamping steps and measurements

PAPER MEASUREMENTS
- Basic White Thick (cardbase): 5 1/2″ x 8 1/2″ scored at 4 1/4″
- (tag): 2 1/4″ x 4 1/4″
- Crushed Curry (mat): 4″ x 5 1/4″
- (BOO!): 2 @ 1″ X 1 1/2″ & 1″ X 2 1/4″
- Pumpkin Pie (paper pumpkin): 1 1/4″ x 6 1/2″
- Soft Suede (stem): scrap
- Celebrate Everything Designer Series Paper (pumpkin): 1 3/4″ x 4 3/4″
- (stripes): 1 3/4″ x 4 3/4″
STEP BY STEP DIRECTIONS
- Fold the Basic White Thick Cardstock on the score mark to create card base.
- Glue the Crushed Curry to the cardfront and the striped designer paper to the Crushed Curry about 1/2″ from the right-hand edge.
- Color the pumpkins with the Pumpkin Pie Blends, the stems with Crushed Curry and the stars with Daffodil Delight and glue to the Crushed Curry about 1/2″ from the left-hand edge.
- Cut out the tag using the Tailor Made Tags Dies and the Stampin’ Cut & Emboss Machine.
- With Stampin’ Dimensionals adhere the tag to the center of the cardfront.
- Punch three ovals and run them through the Stampin’ Cut & Emboss Machine with the 3D Timber Embossing Folder.
- Glue two of the ovals side by side on the bottom of the tag and place the third on on top of those using Stampin’ Dimensionals.
- Cut out a stem from the Soft Suede scrap and tuck it under the center oval and glue in place.
- Stamp the “all the LOVE” stamp in Memento Tuxedo Black Ink on Crushed Curry Cardstock twice. Then I cut out the “O”s.
- Then stamp “you’re my BESTIE!” cutting out the “B” and the “!” to complete the BOO!
- Glue the BOO! above the pumpkin.
- Color the Black & Gingham using the Pumpkin Pie Stampin’ Blends and tie in a bow and adhere to the tag top with Mini Glue Dots.
I hope you found some inspiration here today.
Want More?
Alison is great at doing a Facebook Lives on our Facebook Group!
Hop over to our Border Buddy Hangout Facebook Group and check it out.
Not a member? Ask to join!
Would Love to have you shop with us!
• Patsy’s Online Store (US customers)
• Alison’s Online Store (Canadian customers)

Patsy, this card is BRILLIANT! I absolutely love it & all your Out of the Box treatments. You did a great job on the fussy cutting (not my thing) of BOO! & great use of the “i” as “!”. The punch pumpkin is awesome & the EF provides the perfect amount of texture. The colouring adds a great touch to the DSP & ribbon.
Thank you so much glad you liked the out of box tips. I love coloring with the Stampin’ Blends to customize the papers and ribbons.