Tulips Dies how to assemble the die cuts to create a tulip! When I opened the dies I had no clue how to put the tulips together. Stampin’ Up! didn’t have any guidelines and so with some trial and error I think I got it! Today I am going to show you how!
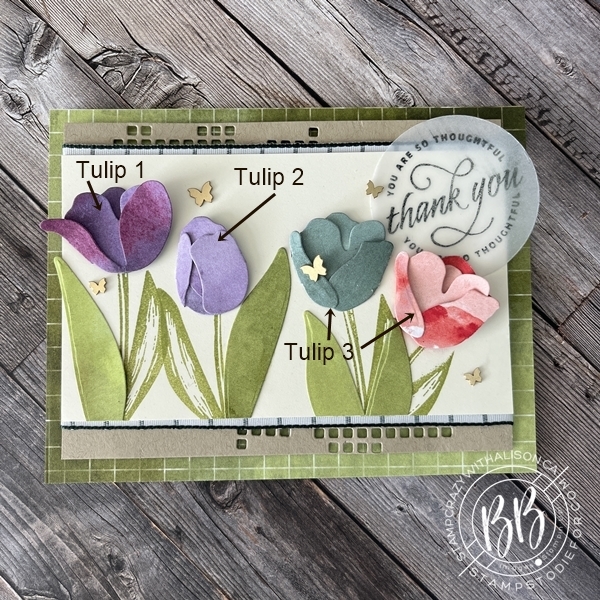
This is a card I CASED from the Jan-June 2022 Mini Catalog on page 14. I am going to show you how to make the three different tulips on this card. The two tulips on the right are the same combination of die cuts.
Tulips Dies How To – Highland Heather Tulip 1

Step 1: Die Cut piece 1, 2 and 3 out of the Flowering Fields Designer Series Paper.

Step 2: Flip piece 1 over and glue piece 2 to the right hand side.

Step 3: Glue piece 3 to the top of piece 2.

Step 4: To finish the tulip fold over to the right on the score mark and glue to piece 3.
Tulips Dies How To – Highland Heather tulip Bud 2

Step 1: Cut out these shapes for tulip number 2. You will need two pieces of number one. Cut off the flaps on the right and left side of one of the number 1 pieces as shown by the dotted lines.
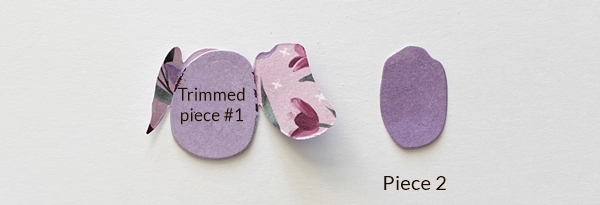
Step 2: Flip piece 1 over and glue the trimmed piece 1 to the inside.

Step 3: Fold inward on the right and left score marks and glue to piece 3 to finish your tulip.
Tulips Dies How To – tulip Pool Party 3 & Poppy Parade 4

Step 1: Die Cut these three shapes piece 1, 2 and 3,
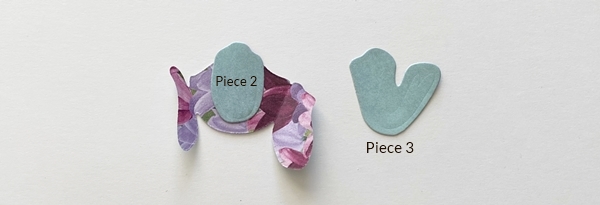
Step 2: Flip piece 1 over and glue piece 2 to the center of piece 1.

Step 3: Glue piece 3 on top of piece 2.
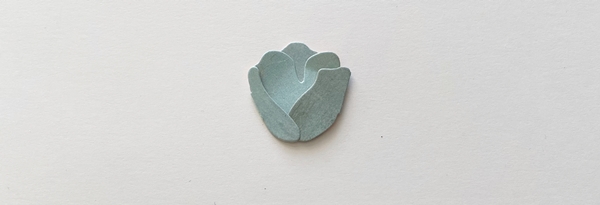
Step 4: Fold the left and right petals in and glue to piece 3 to complete flower three.

Simple stamping steps and measurements
PAPER
- Very Vanilla Thick (cardbase): 5 1/2″ x 8 1/2″ and score at 4 1/4″
- (stamped): 3″ x 5″
- Crumb Cake: 3 3/4″ x 5″
- Cardstock Vellum: 2 1/4″ x 2 1/4″
- Flowering Fields Designer Series Paper (background): 4 1/4″ x 5″
- (Highland Heather flower): 1 1/2″ x 4 1/4″
- (Highland Heather bud): 1 1/4″ x 5″
- (Pool Party flower): 1 1/2″ x 4 1/4″
- (Poppy Parade flower): 1 1/2″ x 4 1/4″
- (leaves): 3″ x 4″
DIRECTIONS
- Fold the card base in half.
- Glue the designer series paper to the card front.
- Die cut the squares randomly on the Crumb Cake cardstock using the Tulips Die and the Stampin’ Cut & Emboss Machine.
- Stamp 4 stems and leaves randomly in Pear Pizzazz Ink.
- Create tulips as per steps above.
- Glue tulips to the top of the stems.
- Die cut the leaves and glue to the stems.
- Cut off the overhanging leaves.
- Adhere 6″ ribbon to the back side of the Very Vanilla top and bottom. (To save ribbon you could cut it in half and adhere one to the top and the other to the bottom.)
- Glue the Very Vanilla to the Crumb Cake and adhere the ribbon ends to the back side of the Crumb Cake.
- With Stampin’ Dimensionals adhere the Crumb cake to the center of the card front.
- Stamp the greeting in Tuxedo Black ink on the Vellum Cardstock and cut out with the Layering Circle Dies.
- Glue the sayings to the upper right-hand corner of the card.
- Add five brass butterflies randomly to the card front.
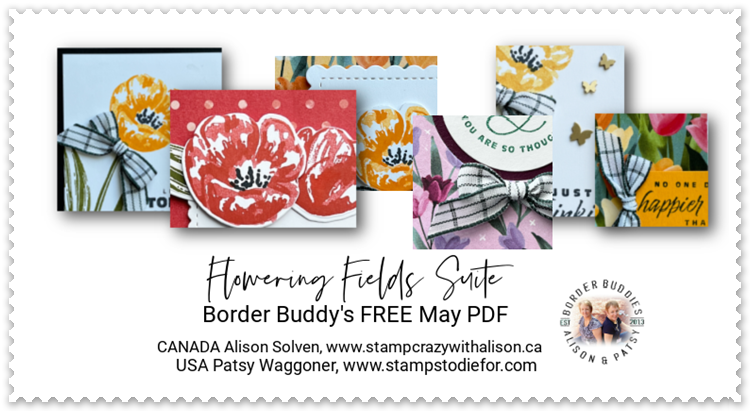
The Flower Tulips Bundle is the focus of our May Border Buddy PDF.
stampin up products used for today’s CASE Card
Product List")


 Designer Series Paper")


 Windowpane Check Ribbon")


Be sure and pop over to Alison’s blog and see what she has been stamping!
I hope you found some inspiration here today. Want More?
Sign Up for our E-Newsletters!
- Patsy’s E- Newsletter (US Customers)
- Alison’s E-Newsletter (Canadian Customers)
Would Love to have you shop with us!
- Patsy’s Online Store (US customers)
- Alison’s Online Store(Canadian customers)
Thanks for visiting my blog today! Happy Stamping!
Current Host Code 69TADYNY


Hoe mooi is deze kaart!!!! Ik ga er ook maken zo gauw ik beter ben….. Dank je voor de uitleg ook.
Doe zo verder!