The One Sheet Wonder (OSW) Series has become very popular. I hope you are learning how easy it is to create some fun cards using a 12" x 12" piece of Designer Series Paper.

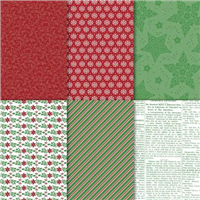
Today I am sharing a card created using piece A from the 12" x 12" piece of Dashing Along Designer Series Paper (DSP).

This month our OSW features the Dashing Along DSP. You won't find it in the Annual catalog or the Holiday Catalog. It is an exclusive paper that was designed for a Host Promotion.
Some of my customers invite their friends over to stamp and collect orders to send in under what is called a workshop order. Then they are rewarded with Host Rewards they can use for Free Products.

There are two ways to earn this exclusive paper.
- Have a workshop totaling $250* or more
- Make a purchase of $250* or more.
You may not be able to gather friends and your budget may not allow you to order that much so I am going to send a small sample of this paper to anyone who places a $100* order from my online store . You will receive a FREE sample package with all six designs (5 1/4" x 4" perfect for a card!). Sample packages are limited so it is on a first come basis. If I run out of sample packages I will send an optional sample package of DSP.
*(after discount coupons and before taxes, and shipping).

Simple Stamping Steps & Measurements
- Fold Whisper White Cardstock in half to create card base. (4 1/4" x 11" for top fold, 5 1/2" x 8 1/2" for side fold).
- With Snail Adhesive apply Designer Paper to the card front.
- Tie the 5/8" Whisper White Polka Dot Tulle Ribbon around the card front in a bow to the left about 2" from the top edge.
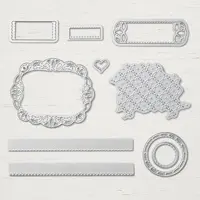
- Cut out the label in Whisper White using the label from the Stitched Labels Framelits Dies using the Big Shot.
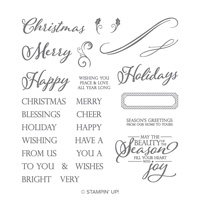
- Stamp "Happy" from the Merry Christmas to All stamp set in Merry Merlot ink on the label.
- Adhere the label to the card front over the tulle ribbon using dimensionals.
- Stamp "Holiday" in Versa Mark ink on Garden Green cardstock (1/2" x 2 1/4"), pour Gold embossing powder over the top and tap of excess and heat with the Heat Tool till glossy.
- Cut banner end in the garden green cardstock using the Tailored Tag Punch (shown in the image below) and adhere just below the happy with dimensionals.

Just in CASE Series:
Each Thursday Alison Solven (CAN) and I share a card on our blogs that we have CASEd from the catalog. CASE in the stamping world means Copy And Selectively Edit
We would like to show you how you can use the paper crafting projects in the Stampin’ Up! Catalogs to inspire you! Or maybe even copy it exactly, or tweak it by changing the colors and or even the stamp set. But remember if you go too far you just created your own card.
Today's Card Supplies


All paper crafting supplies used for today's project are Stampin' Up!
You can purchase them at My Online Store!
To earn Bonus Rewards use the Host Code
If you are reading this via an email, Click Here for the current CODE


Leave a Reply